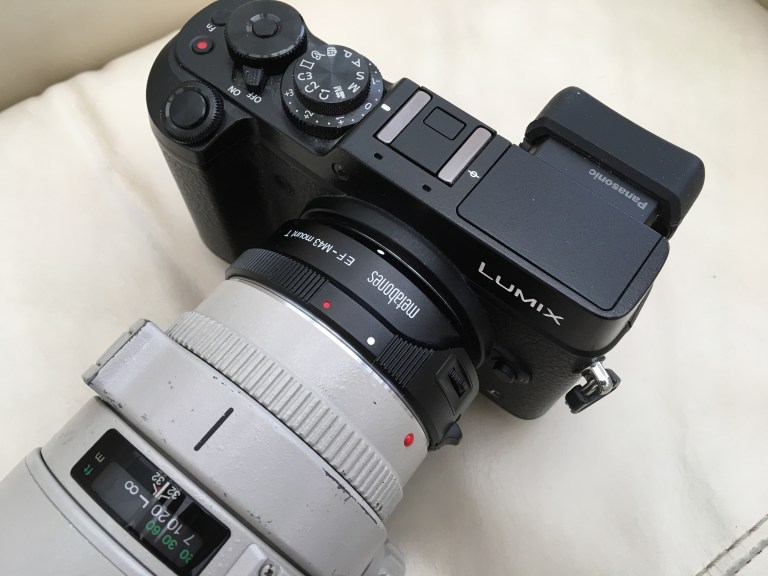

 I bought a Metabones Smart Adapter (T) for my GX8 a while back to see how my Canon lenses might work. I had used a Nikon version before, but that wasn’t a smart version so I had only manual focus with the Nikon lenses. I hadn’t really had much time to use or test the Canon adapter up until now so thought that I would try a 300mm and see how it worked.
I photographed some birds in my garden and below is a shot of a blackbird. I found focussing to be very quick – pretty much as I would expect on a Canon body. I used the single point focus on the GX8 as to me that always seems more accurate.
The shot below was handheld – with one hand resting on a support for balance. So the camera was moving around a bit. Shutter speed 1/640 and F5. Considering birds move about very quickly the AF kept up with the bird really well. There were a few out of focus shots but that was more down to me. Also on this camera the lens is equivalent to a 600mm. The bird was about 5 metres away, so very shallow depth of field.
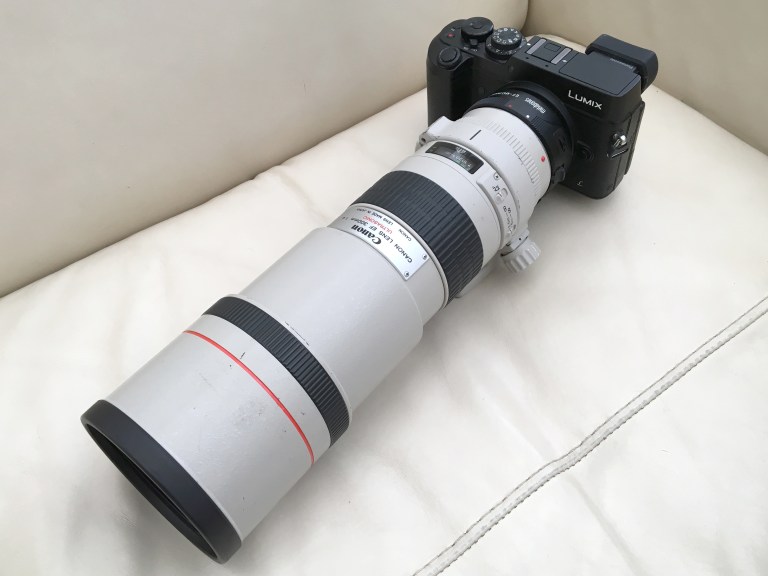
This is from about the first couple of dozen shots ever shot with the lens/adapter combination so I’m still getting used to it. But from the first few images with this lens I would have no problem using it with the GX8. I get a 600mm equivalent without the weight and cost! I like using the GX8 when I’m just out and about shooting stock images as it’s preferable to carrying the extra weight of Canon bodies. A GX8, couple of M4/3 lenses and perhaps a Canon 300mm makes a pretty lightweight kit which will cover almost anything.
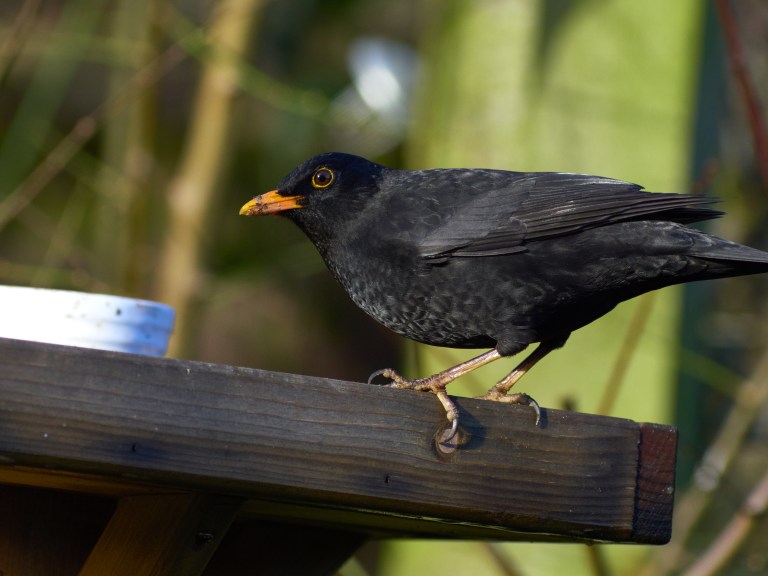
GX8 with Metabones M4/3 to Canon EF Smart T Adapter 1/640 sec at F5, ISO 800
Processed from RAW in Capture One Pro
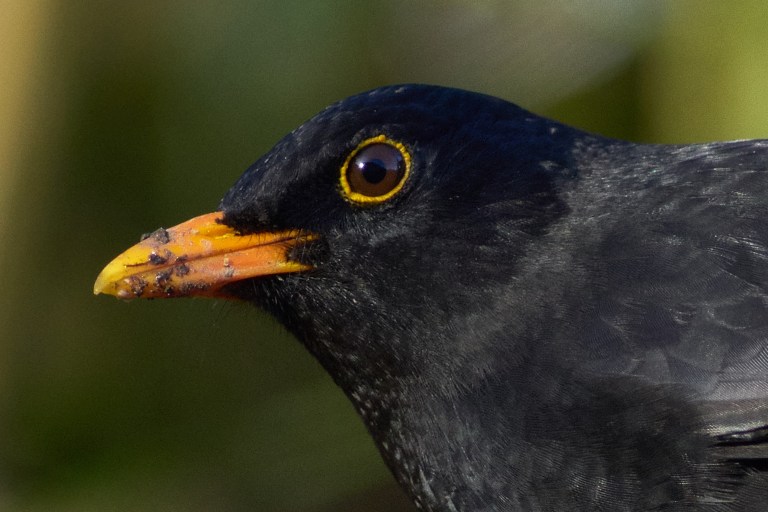 Image at approximately 100%